Apply for HM Land Registry Business e-services
Business customers can apply to access our electronic services through the portal or Business Gateway.
Applies to England and Wales
Our Business e-services are for organisations that regularly transact with us as part of the conveyancing process to request information from HM Land Registry’s Land Register or to lodge applications to change the register online.
Members of the public and business customers who make one-off or occasional use of our services can:
- search for property information
- send paper applications to our standard address
Business e-services
Use our electronic services instead of paper applications for:
- a faster and more accurate service
- lower postal costs
- lower fees for some services
- a reduced environmental impact
- an electronic audit trail to help prevent fraud
Business e-services are divided into 3 service groups, each governed by its own terms and conditions or agreement. All customers will get access to Information Services, Land Charges Services, the electronic Document Registration Service and the Digital Registration Service. Business e-services customers can also apply for Network Services and/or Lender Services at the same time, or later.
Information Services, Land Charges Services, electronic Document Registration Service and Digital Registration Service
Business e-services customers must agree to comply with our Conditions of use to get access to HM Land Registry Information Services (including MapSearch and Application Enquiry), Land Charges Services, the electronic Document Registration Service and Digital Registration Service.
The application for Business e-services incorporates certification of acceptance of the Conditions of use and submission is deemed to indicate agreement on behalf of your organisation.
We do not require a copy, signed or otherwise, of the conditions of use with your application, but we strongly recommend that you read and fully understand it before you apply.
If your organisation meets the required criteria, you can also apply for our Network Services and Lender Services.
Network Services
Solicitors, licensed conveyancers and organisations that meet the required criteria can apply to use Network Services through the portal or Business Gateway to submit electronic applications to update the register.
Find out more about HM Land Registry Network Services.
Lender Services
This service is designed to meet the needs of lenders with portfolios of registered legal charges who wish to cancel charges by means of an electronic application (e-DS1).
Find out more about HM Land Registry Lender Services.
How to access Business e-services
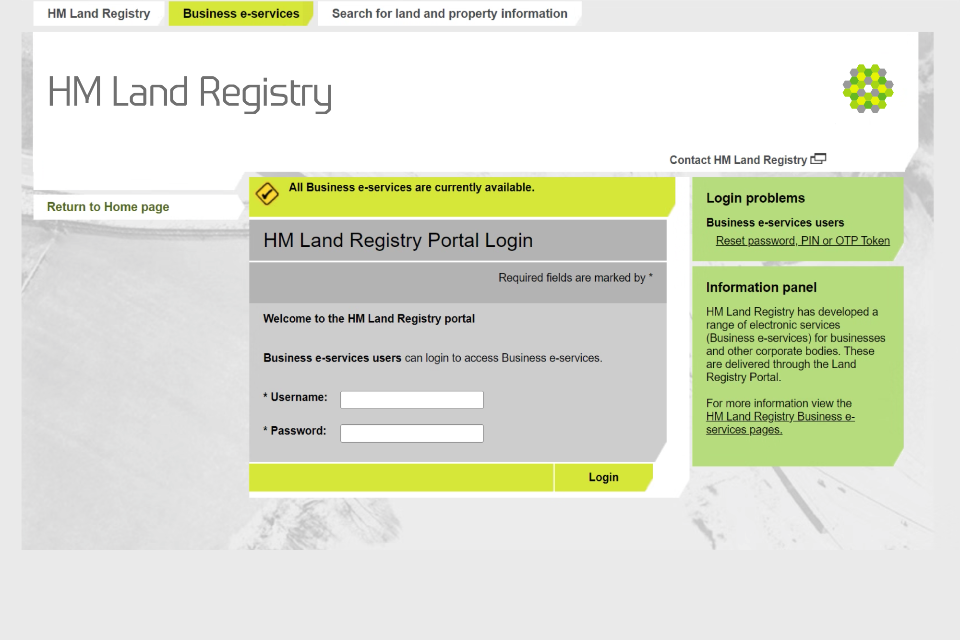
The portal
Customers who want to use Business e-services must first apply to access them through the portal. The HM Land Registry portal is a secure website for our professional customers to access Business e-services that is available from 6.30am to 11pm every day.
Business Gateway
Customers who use the portal can also apply to access services using Business Gateway. This will allow you to access services automatically from a case management system.
To do this, you must either have a case management system that offers integration or an IT development capability to integrate your system.
Find out more about Business Gateway.
All organisations who are new to Business e-services must first apply to access them through the portal. This can be done online or by post.
Accessing the portal
A single application for Business e-services covers an entire legal entity including all departments, branches, and sub-offices. By legal entity, we mean something that has a legal personality, or a recognised legal structure, such as a:
- limited company
- PLC (public limited company)
- partnership
- limited liability partnership
- limited partnership
- sole practitioner
- local authority
- government department
You must have the authority to apply on behalf of your whole organisation.
You must confirm that your organisation:
- accepts the Conditions of Use relating to these services (there is no need to sign, complete and send in a copy of the Conditions of Use with your application, but you may want to download it for information purposes)
- meets the minimum technical specification and security requirements set out in the technical manual – by applying for Business e-services you confirm that your organisation meets these requirements
Variable Direct Debit account
You must pay for all services used through the portal by variable Direct Debit (VDD). A VDD scheme is one where the value and frequency of the debit varies.
Due to the nature of payments for HM Land Registry applications, you cannot pay monthly or pre-set the value of the VDD.
Your organisation must have at least 1 VDD account to pay fees for services. You can have as many accounts as you need.
If your organisation already has a VDD account with us and you want to use it for Business e-services, you must provide the VDD account key number in your application.
Read more about our variable Direct Debit scheme.
To set up a VDD account with us, you must:
- fill in a VDD application form and Direct Debit mandate (see pages 13 to 15 of the VDD guide) for each account you require. We require these pages to be completed
- submit the VDD application form and Direct Debit mandate with your Business e-services application
All new VDD accounts have a unique account key number which will appear against relevant payments on your bank statement.
Business e-services roles
You should consider:
- who will be the responsible person
- who will be your administrators
- whether you need deputy responsible persons, and who they will be
An individual can you can have more than one role by using separate user IDs and passwords, for example, an administrator can have an authorised user account and an administrator account.
Only authorised users can submit applications for registration and access the Land Register.
Read more about roles in the Business e-services technical manual.
Responsible person and deputy responsible persons
The responsible person and deputy responsible person will assist your organisation with the proper supervision of your employees’ use of our services, as required by regulators and existing legislation.
You must provide details of your responsible person and any deputies. Deputy responsible persons can be nominated to cover for the responsible person when they are not available or to manage a particular group or office within your organisation.
Administrators
The role of an administrator is to manage system access for the individual authorised users in the organisation and the organisation’s Business e-services account. You must provide details of at least 1 administrator, but you can have as many as you need.
Authorised user
An authorised user is a person authorised by you to use Business e-services through your equipment and software. We provide your organisation with a mechanism to allow you to provide each of your authorised users with access to services appropriate to their job function.
Submit your application
An application for Business e-services can be submitted online or by post. We will contact you by email to confirm receipt of your application. It should be completed within 20 working days if everything is in order.
Online
You can use our electronic service to apply for Business e-services.
You will still need to fill in, sign and upload an electronic copy of any other relevant documents, such as:
- a VDD application form and mandate (for each new VDD account you need)
- Network Access Agreement (if you are applying for Network Services)
- Memorandum of Understanding (if you are applying for Lender Services)
Post
Fill in form AFS1.
If you need more than 2 administrators, fill in form AFS4 and send it to us with your form AFS1.
To apply for 1 or more deputy responsible persons, fill in form AFS5 and send this to us with your form AFS1.
You must send a VDD application form and Direct Debit mandate for each new account you require with the AFS1.
Apply for Network Services
To apply for Network Services, fill in 2 copies of the HM Land Registry Network Access Agreement (NAA).
You must:
- enter your organisation’s name and service addresses on both copies
- leave both copies undated (HM Land Registry will enter the date on both copies if your application is approved)
- make sure 1 copy is signed by a person with the authority to sign legal agreements on behalf of your organisation
- leave 1 copy unsigned as it will be signed on behalf of the Chief Land Registrar and returned to you when your application has been approved
Send the agreements to us with your form AFS1.
Apply for Lender Services
To apply for Lender Services, fill in 2 copies of the Memorandum of Understanding: portal access to cancel registered charges (MoU)
You must:
- enter your organisation’s name and address on both copies
- leave both copies undated (HM Land Registry will enter the date on both copies if your application is approved)
- sign 1 copy on behalf of your organisation
- leave the second copy unsigned as it will be signed on behalf of the Chief Land Registrar and returned to you when your application has been approved
Send the agreements to us with your form AFS1.
Send your application to:
Service Access Team
PO Box 650
Southfield House
Southfield Way
Durham
DH1 9LR
Service Access Team
DX 313201
Durham 24
Terms and conditions
Read the:
- Conditions of use: HM Land Registry Business e-services
- HM Land Registry Business e-services technical manual
- Memorandum of Understanding: portal access to cancel registered charges (MoU)
- Code of practice: HM Land Registry Business e-services
- HM Land Registry: Network Access Rules
- Land Registration Act 2002: Schedule 2
- Land Charges Act and Rules: Schedule 3
Certificate Authority
A certificate authority is a trusted body that creates, issues and manages certificates that prove a user’s identity during electronic transactions. Read about how we operate as a certificate authority and provide a secure platform for you to access, authenticate and enable electronic signatures.
Help and support
If you have a query about applying for Business e-services:
- call 0300 006 0411
- send us a message
Last updated 1 July 2021 + show all updates
-
We've changed the number of working days needed to process a Business e-services application from 15 to 20.
-
We've added a link to submit a Business e-services application online.
-
First published.